A beautiful day, a scenic trail, and good company can make for a perfect walk or hike. However, the sudden appearance of a blister or hotspot on your foot can quickly turn this pleasurable activity into a painful ordeal. Knowing how to identify and care for these common issues can ensure your walk doesn’t come to an early end.
Spotting the Signs of Trouble
Hotspots: These are the warning signs. A hotspot is an area of the skin that feels warm and irritated due to friction. It might feel slightly painful or just uncomfortable, but it’s your first clue that a blister may develop if you don’t act.
Blisters: Blisters are tiny sacs filled with fluid that develop on the skin because of friction. They are usually raised, and the skin around them can be red and sensitive. The fluid inside blisters can either be clear or tinged with blood, depending on the extent of the condition.
Immediate Actions on the Trail
As soon as you feel a hotspot or see the beginnings of a blister, it’s time to act. Here’s what you should do:
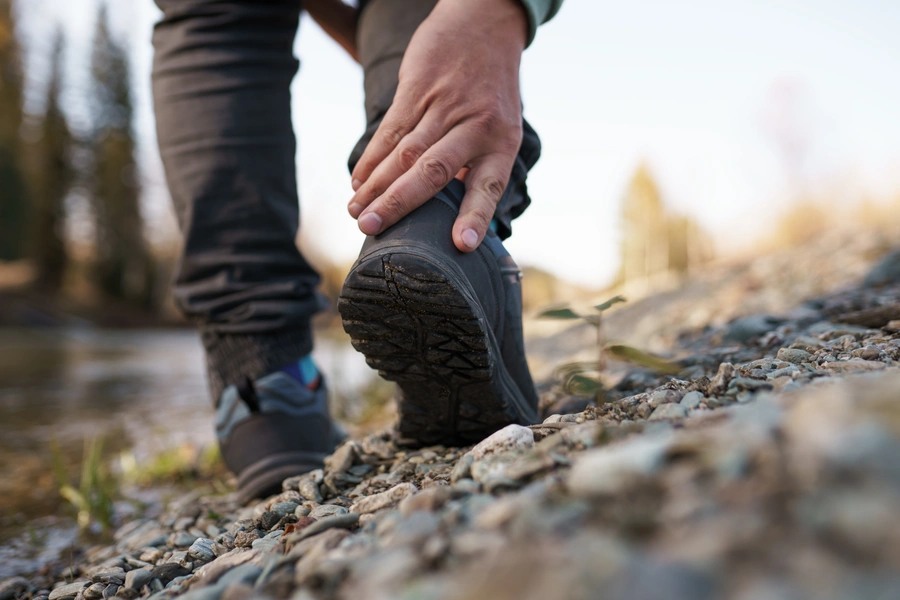
Stop and Assess: Take off your shoe and sock to check your foot. Catching a hotspot or blister early can save you a lot of discomfort later on.
Clean and Cool: Clean the affected area with a wipe or clean water. Cooling the hotspot can help reduce inflammation. If you have access to a stream or cool water, use it.
Apply Protection: If it’s a hotspot, apply a specialised blister plaster or moleskin. For blisters, protect them with a blister bandage or create a protective ‘donut’ with moleskin to relieve pressure.
When Blisters Form
If you’re past the hotspot stage and a blister has formed, you need to provide it with care to prevent infection and further injury:
Keep It Covered: Use a blister plaster or dressing to keep the area clean and protected from further friction.
Avoid Popping: If possible, don’t pop a blister as it can lead to infection. The fluid within the blister provides natural protection to the underlying skin.
Drain If Necessary: If the blister is large and painful, it may need to be drained. Sanitise a needle using alcohol, delicately pierce the blister’s edge, and carefully release the fluid. Then, apply a sterile dressing to cover the area.
During Your Hike
While continuing your walk or hike, you’ll need to monitor the situation:
Adjust Footwear: To reduce pressure on the affected area, loosen your shoelaces or insert padding into your shoe for added protection.
Change Socks: If your socks are damp, change into a dry pair to reduce friction and the risk of worsening the blister.
Rest When Needed: Take regular breaks to check on the blister and give your feet a chance to rest. This can also help reduce swelling and pain.
Post-Hike Care
Once you’re done with your hike, proper care is vital for healing:
Keep It Clean: Wash the area with soap and water, then apply an antiseptic.
Let It Breathe: If you’re in a clean environment, expose the blister to air to promote drying and healing.
Watch for Infection: Redness, warmth, swelling, or pus can be signs of infection. If these symptoms appear, seek medical attention.
Prevention for Next Time
Preventing hotspots and blisters is preferable to treating them:
Proper Footwear: Ensure your walking boots or shoes fit well and are broken in.
Quality Socks: Invest in good socks that wick moisture away from the skin.
Lubrication and Padding: Use blister-preventing balms or tapes in areas prone to friction.
Regular Checks: On longer walks, take moments to check your feet for any signs of rubbing or discomfort.
By learning how to identify and treat hotspots and blisters, you can enjoy your time on your walk with minimal discomfort. By taking preventive measures and addressing any signs of trouble promptly, your walks and hikes can remain enjoyable experiences.